
Tile "D" & "E"
My war gaming table is no longer level. At some point the end closest to the front of the house settled. That made the middle higher than the ends. I though it was the gaming mat beneath.

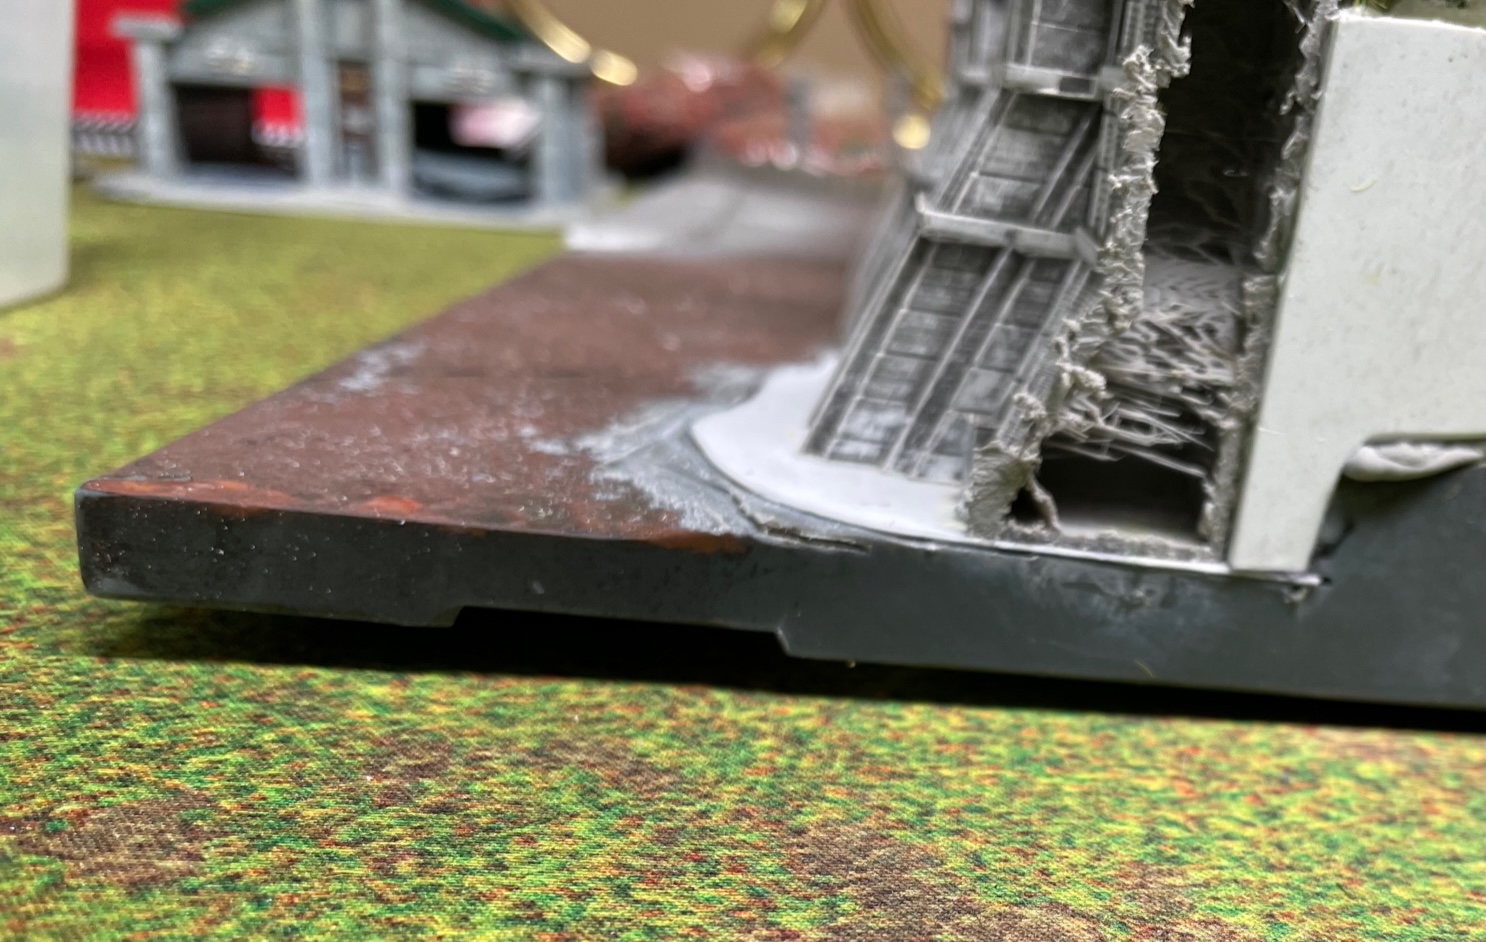


So now what. Do I rip up everything on "D?" Then remove the 3mm build up. Or shave the riser? I am going to shave the riser. It would be easier but it will be quicker.
Tile "A"
I ended up sealing the roads with polyurethane. Wood stain. Not to actual stain or tint the roads in any way. I did it to make them tougher, harder to chip. Once I am finished. I don't want the first tourney out to force me into reworking the roads because they got chipped in game play.


Tile "C"
"C" got the the same road stain treatment. They all will.


The Plasma building dropped it, repaired it, repainted.


Tile "B"
The wall was painted and tunnel detail picked out. The sidewalks painted. The area above the wall has been flocked. The area in front of the wall gets a static mat glued down. Tac glue is used. You put it down white and wait for it to go clear. Then it is wicked sticky.


Static grass is easy. The grass applicator can be expensive. When you do static grass it goes everywhere. I use a vacuum to clean up. You can put a panty hose over the end of the vacuum hose like a rubber. The panty hose collects all your grass. Otherwise plan on using 3 times what you think you will need.

Tile "D"
The last two sabots for "D" are done. The roads and sidewalks are painted.


"D" is at the final step, Sealing. All the structures are done. There is no damage to this section, no weathering. It is a day away from finished!
Tile "E"
Roads are being laid to match up with "B" and "E."


The roads are all down. Sand is filling in the gaps for the destroyed road areas.


No comments:
Post a Comment