Monday, September 14, 2020

Warmaster Weekend Tomb Kings Vs Vampire Counts

Scenario: 3 objectives. Any unit within 10cm at the end of a round scores a single point. Points are added until the end of round 6 or an army reaches break. 

3 pyramids in roughly the center of the table representing objectives. Those on the flanks have villages near by, on opposites sides of the 50 yard line. The center objective is in the open.

This was a battle of 4s and 6s in core units. Tim had 4 of each and I had 6 of each Spear, bow, and Cav.

My list;
Tomb King
3 priests 
1 priest in zombie dragon
6 spear
6 bow
6 Cavalry 
1 chariot 
2 Bolt throwers
2 skull chuckers 
1 bone giant
1 carrion 

Brigades were;
x2 Bolt thrower, skull chucker, 2 bow
4 Cavalry 
2 cavalry 
4 spear men
2 spear men and the bone giant
2 bow
The carrion and chariot by themselves 

The plan was for the chariot to push the extreme left flank covering the advance of the spearmen and bone giant. The 2 bow would advance and occupy the ruins. 

The center would be held by both artillery brigades with the 4 strong cavalry brigade between them. That cavalry would wait for the a salient to develop and pounce.

On the right flank the carrion and small cavalry brigade would rush the flank and perform a delaying action. While the spearmen moved on the objective.

That was the plan. Nothing and everything went as exactly planned.


Tim's army and deployment

It was a great game and scenario. I had multiple order failures in the beginning. Then the dice changed and Tim suffered order failures. Units stood their ground were they should have been roiled up. Many engagements were draws or won by one. 

Where Tim got on the objectives first and took the lead in points. I was able to come back and close his lead to one point.

My army broke in the top of turn 6. 12 to 10 1/2, I needed that bottom of turn 6 to break him.


Friday, September 11, 2020

Your Momma is a Sallie part VIII


The XVIII Legion


           Initially this was the very first thing I told myself I was not going to do. No way in hell will I paint flames. I must have smoked some crack. Or maybe drank resin. My Sallie armor is getting flames.

         The first tactical detachment. 8 Stands with Chapter Champion, Company Banner and Chaplain in this group. All tactical marine fire teams have Multi-Meltas for squad weapons. I am working on scaling down a heavy flamer marine. If that works out heavy flamers will be added.

Squad 1

Squad 2
Once I get more practice free handing the Sallie head, I will add it to the banner.
I tried for flames on the Chapter Champion's should. It is very small and pointless to do.

Thursday, September 3, 2020

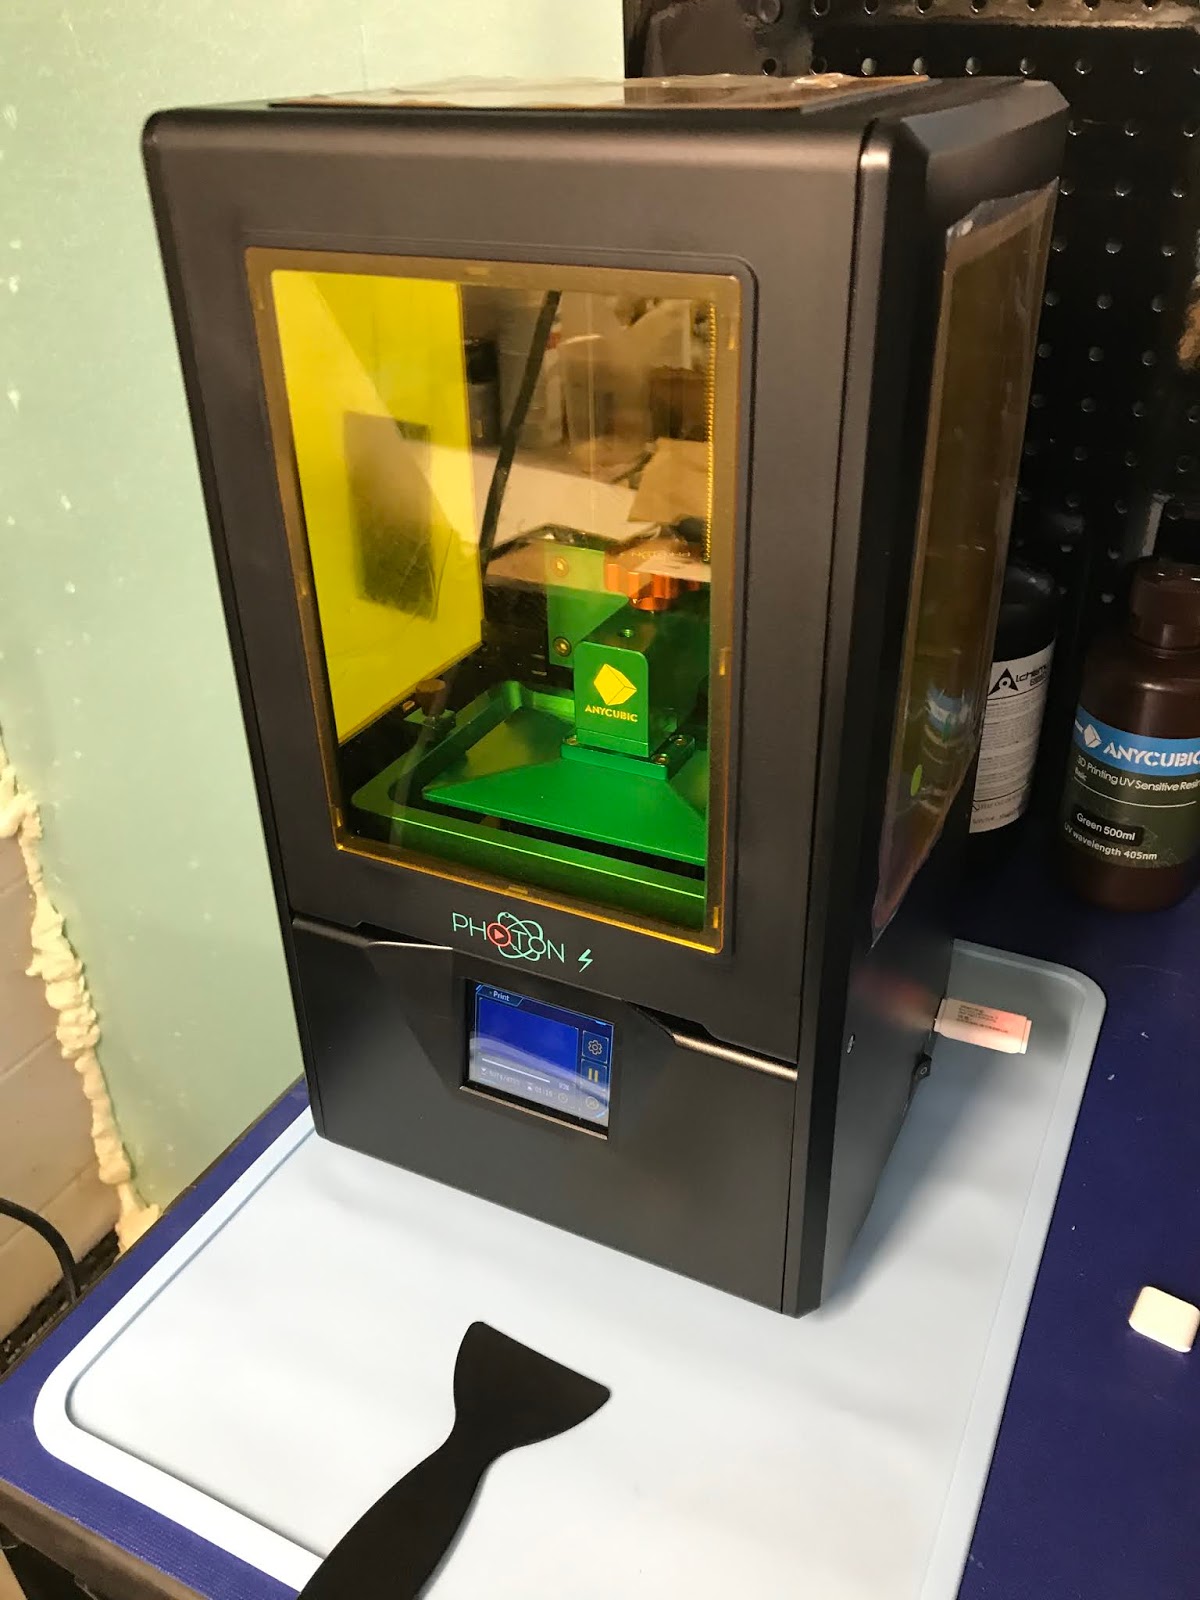
3D Printing "Resin leaked from the tank"


         One day it will happen. Yesterday was that day. The FET film got a hole in it during a print. Weather cured resin punched a hole or went the build plate pulled away a hole was tore. Either way does not matter. Resin leaked out and cured to the LCD.
         Normally this is a huge failure. Resin can ruin the LCD. Resin can leak past the LCD and get onto the LED. Resin could get past the LCD and coat the electronics.
         Not me. I have tape the edges of my LCD. Also there is a 2nd barrier on top of that. Resin did get out and cure onto the LCD. I was able to gently scape that shit off. I am only out time and a new film.
         Here is the back side of the Tank. You can see where the resin escaped and cured. This cured resin and the resin on the screen saved the tank from emptying. Extremely lucky there!
        The inside of the Tank. And the spots of cured resin are onto of or covering the hole(s) in the FET film.

Wednesday, September 2, 2020

Your Momma is a Sallie prat VII "bases part II"

The XVIII Legion

          Long awaited rubber and resin casting effort. It is a total pain in the ass to drill holes each time you need bases. I have master blanks casted. Now I need masters with the circles for the marine's feet. Then I can pour rubber and make bases in mass.
          First I casted up a set of blanks. Then pilot holes were drilled. You need pilot holes as the full size bit will slip initially. You will never hit the spot you want or it slides across the surface chewing the base up. 
          Next the full size bit. I used electrical tape to control depth. Also a dude was hanging around to check for depth. Any hole that was too deep got set a side to be filled in with green stuff.
          Then those bases were soaked in mold release and rubber was poured. 
          I am using SmoothON 66D for resin. It has a long pot time. The old stuff's pot time was too short. It would start curing before I finished pouring. The 66D does not have that problem, but it does create air bubbles. I don't have a vacuum system. I care that much.
    
          The new bases are soaked in Mr Clean and military simple green cleaner. They all get a fresh water wash, no scrubbing. And done, ready for marines.


Tuesday, September 1, 2020

Your Momma is a Sallie part VI support weapons

The XVIII Legion


        6 support weapons, 2 Thudd guns and 4 rapiers. Each gun comes with 3 dudes. Two of which are pointing.  I didn't use more than 2. 3 is way too many and the base would look crowded. And how many dudes can you have pointing???

         The bases were sawed down from the 40 x 30mm rhino base. Got to have a plan! I did not not think before painting up the bases. Never drilled holes for the marines operating the weapon. I had to cut the circles off the marine operator's feet. At least their were resin and not the original ChinaForge metal. I got away with it and did not damage the finished marine paint job.